
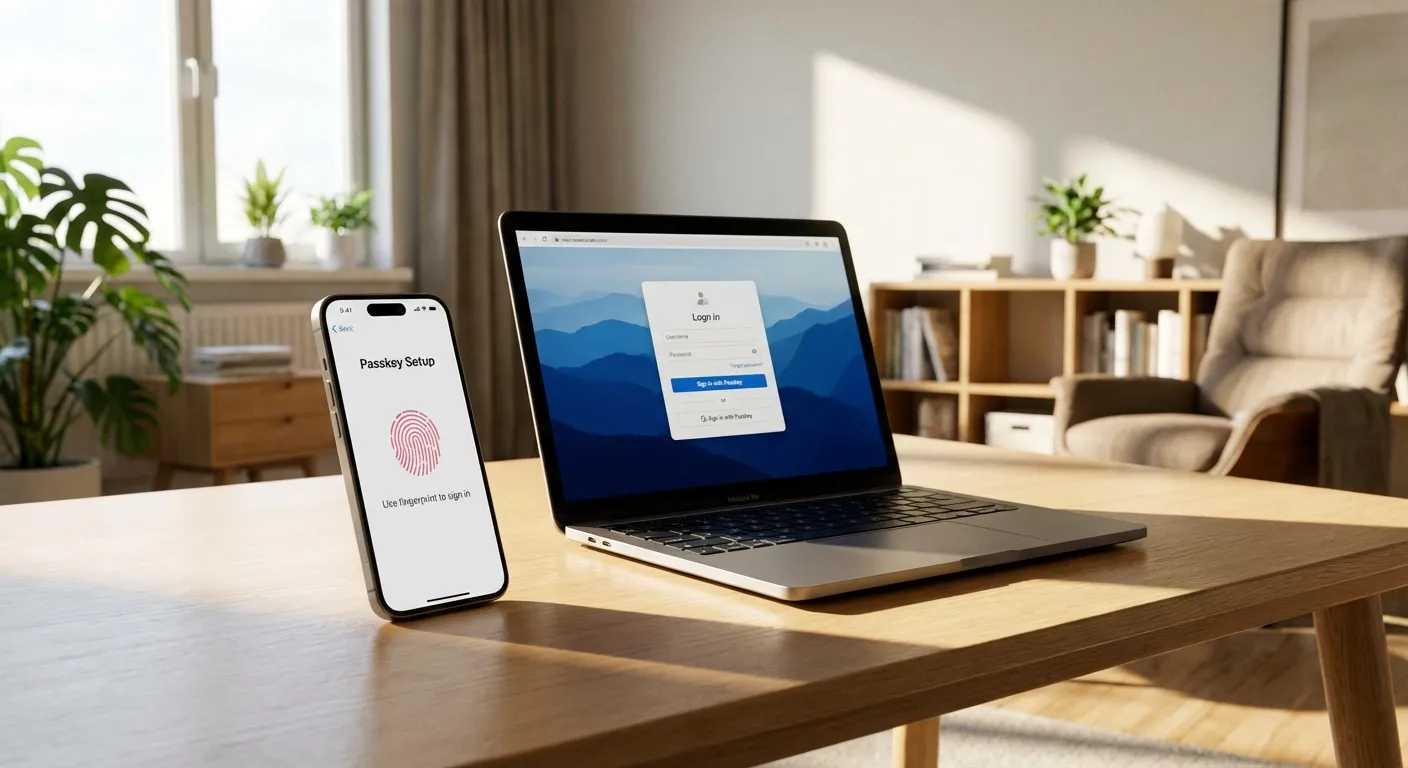
How do you set up passkeys on your devices? On iPhone, go to a supported website, tap "Create a passkey" when prompted, and authenticate with Face ID or Touch ID. On Android, the process is nearly identical using your fingerprint or screen lock. On a computer, your browser handles the setup through Windows Hello, macOS Touch ID, or by scanning a QR code with your phone. The whole process takes under a minute per account, and your passkeys sync automatically across devices signed into the same Apple, Google, or Microsoft account.
Passkeys are quickly replacing passwords as the default login method for major websites and apps. Google, Apple, Amazon, Microsoft, PayPal, and hundreds of other services now support them. If you've been hearing about passkeys but haven't set one up yet, this guide walks through the exact steps on every major platform. For background on what passkeys are and why they're more secure, see our explainer on passkeys replacing passwords.
Setting Up Passkeys on iPhone
Apple integrated passkey support into iOS 16 and has expanded it in every update since. If you're running iOS 17 or later, passkeys work seamlessly with iCloud Keychain and sync across all your Apple devices.
Step 1: Make sure iCloud Keychain is enabled. Open Settings, tap your name at the top, then tap iCloud, then Passwords and Keychain. Toggle on "Sync this iPhone." This ensures your passkeys sync to your iPad, Mac, and other Apple devices automatically.
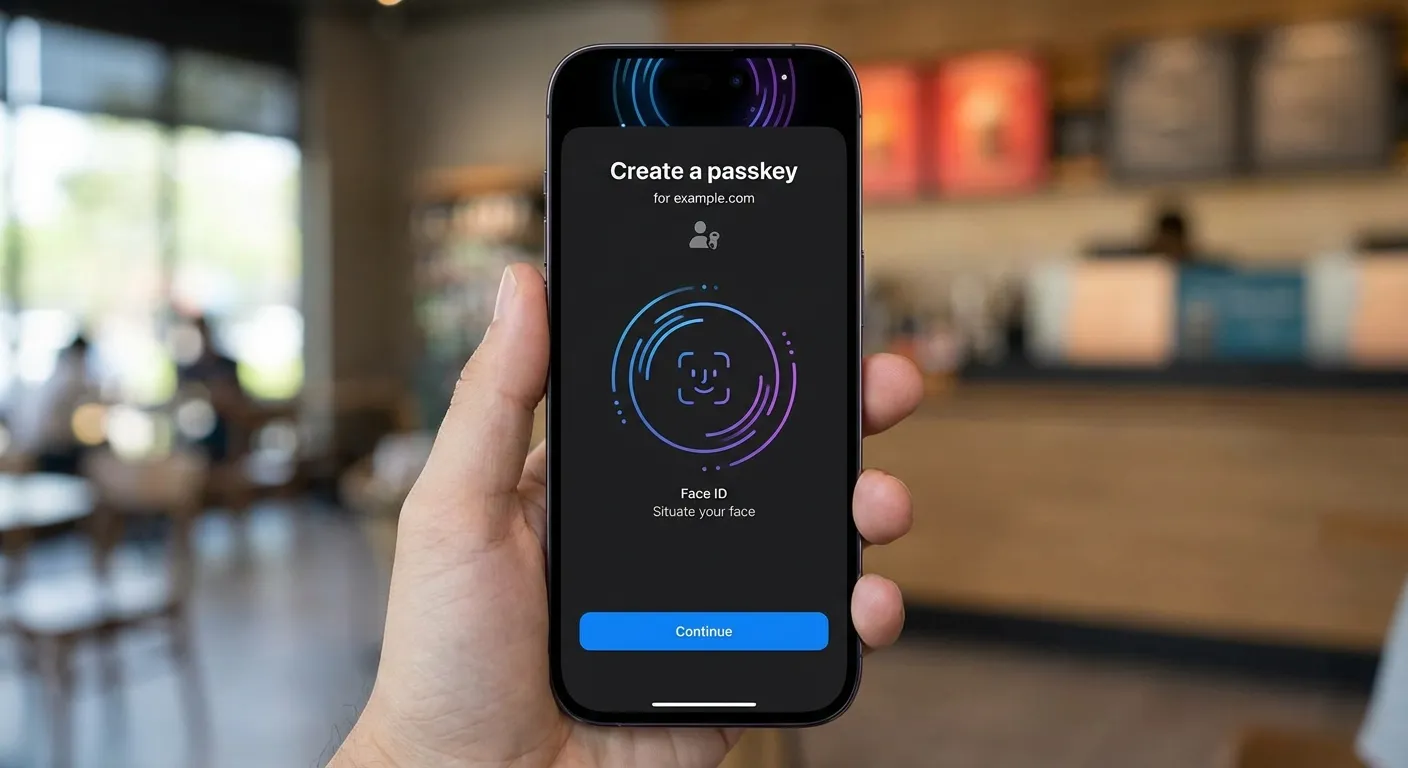
Step 2: Visit a website or app that supports passkeys. When you go to the account settings or sign-in page of a supported site, you'll see an option like "Create a passkey," "Add a passkey," or "Sign in with passkey."
Step 3: Authenticate with Face ID or Touch ID. Your iPhone will prompt you to verify your identity using your biometric. This creates the passkey and stores it securely in your iCloud Keychain. The private key never leaves Apple's secure hardware.
Step 4: Use the passkey to sign in. The next time you visit that site, your iPhone will offer to sign you in with the passkey instead of asking for a password. Tap the suggestion and authenticate with Face ID or Touch ID. Login takes about two seconds.
If you're already using a password manager like 1Password or Dashlane, both now support storing passkeys alongside your existing passwords. When a site offers passkey creation, your password manager may intercept the prompt and offer to store the passkey there instead of iCloud Keychain. Either location works fine.
Setting Up Passkeys on Android
Google built passkey support into Android through Google Password Manager and the FIDO2 framework. Any Android device running Android 9 or later can use passkeys, though the experience is smoothest on Android 14 and newer.
Step 1: Confirm Google Password Manager is active. Open Settings, search for "Password Manager" or navigate to Google, then Manage your Google Account, then Security. Your saved passwords should be visible, which confirms the service is active.
Step 2: Navigate to a supported site in Chrome or a compatible browser. When you access account settings on a site like Google, Amazon, or PayPal, look for the passkey creation option in the security settings.
Step 3: Authenticate with your fingerprint or screen lock. Android will prompt you to use your biometric or your PIN/pattern. This creates and stores the passkey in Google Password Manager, which syncs it across your Android devices and Chrome browsers signed into the same Google account.
Step 4: Sign in with the passkey. Future logins will show a "Use your passkey" option. Tap it, authenticate with your fingerprint, and you're in.
Google reported in early 2026 that passkeys are used 50% more often than passwords on Google accounts, with users authenticating via passkey over 2.5 billion times. The success rate for passkey login is 98%, compared to 13.8% for traditional password-based authentication according to the FIDO Alliance.
Setting Up Passkeys on Windows and Mac
Desktop passkey setup depends on your operating system and browser, but the core process is consistent.
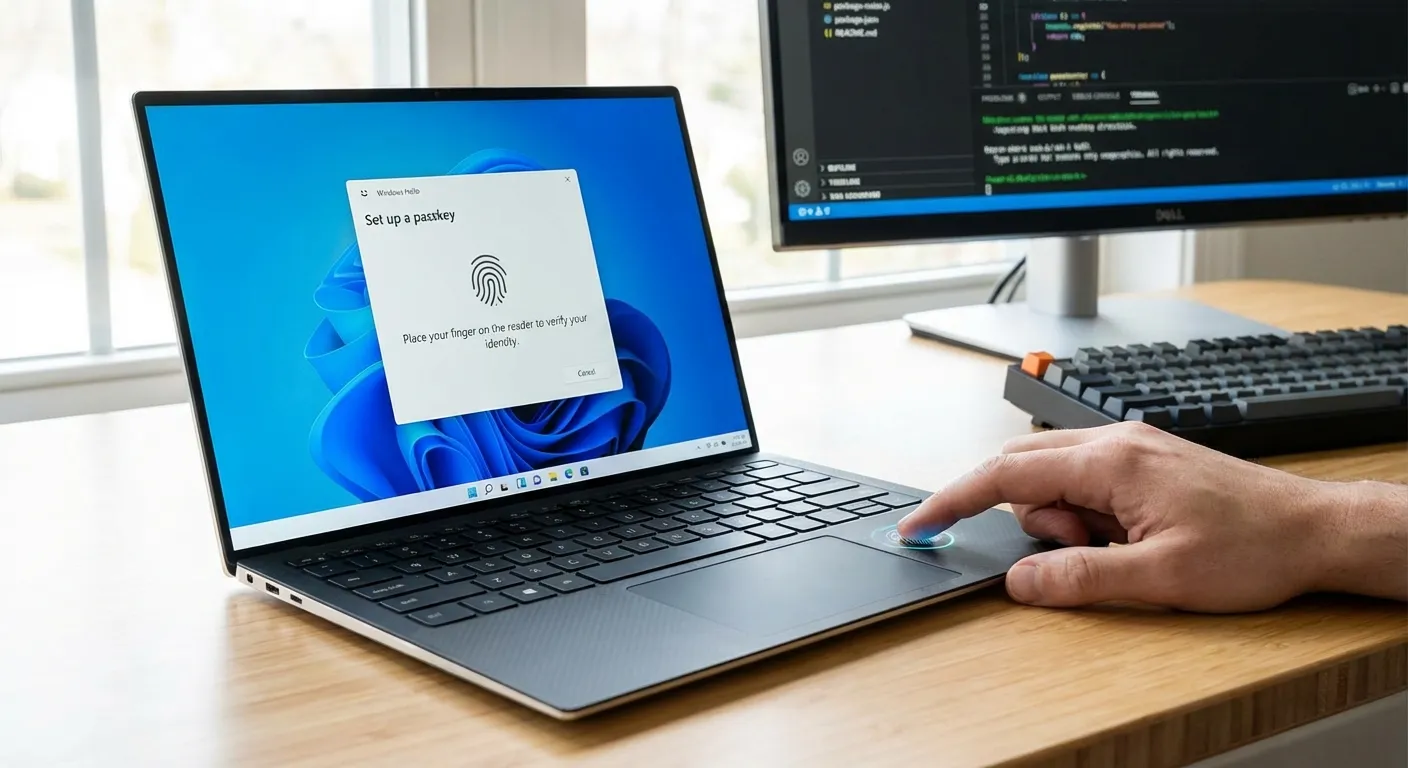
On Windows (Windows 10/11): Open a supported website in Edge, Chrome, or Firefox. When you click "Create a passkey," Windows will offer to use Windows Hello. Authenticate with your fingerprint reader, facial recognition camera, or your Windows PIN. The passkey is stored locally and can sync through your Microsoft account.
On macOS (Ventura or later): Open a supported site in Safari, Chrome, or another compatible browser. When prompted to create a passkey, your Mac will ask you to authenticate with Touch ID if your Mac has it, or by entering your macOS password. The passkey syncs through iCloud Keychain to your other Apple devices.
Cross-device passkey use: If your passkey is stored on your phone but you want to sign in on a computer, most sites will show a QR code option. Scan the QR code with your phone's camera, authenticate on the phone, and the computer completes the sign-in. This bridges the gap between ecosystems, letting an iPhone passkey work on a Windows PC or an Android passkey work on a Mac.
Managing Your Passkeys
Keeping track of your passkeys is simpler than managing passwords, but there are a few things worth knowing.
Viewing stored passkeys: On iPhone, go to Settings, then Passwords. On Android, go to Settings, then Google, then Password Manager. On Mac, check System Settings, then Passwords. On Windows, go to Settings, then Accounts, then Passkeys. Each location shows which sites you have passkeys for and when they were created.
Deleting a passkey removes it from your device and synced devices. You can always create a new one on the website. Deleting a passkey does not delete your account or affect your password if you still have one set up.
Backing up passkeys happens automatically through iCloud Keychain (Apple), Google Password Manager (Android/Chrome), or your Microsoft account (Windows). If you lose your phone, your passkeys will be restored when you sign into a new device with the same account. Third-party password managers like 1Password provide cross-platform backup that works regardless of which ecosystem you use.
If you're also looking to strengthen your account security beyond passkeys, our guide on two-factor authentication covers additional protection layers, and our piece on checking if your passwords have leaked can help you identify accounts that need urgent attention.
Troubleshooting Common Issues
"Create passkey" option doesn't appear. Not all websites support passkeys yet. Check the site's security settings or help documentation. Some sites only show the option in certain browsers.
Passkey doesn't sync to other devices. Verify that cloud sync is enabled (iCloud Keychain on Apple, Google Password Manager on Android). Devices must be signed into the same account and connected to the internet.
Cross-device QR code isn't working. Make sure Bluetooth is enabled on both devices, as the cross-device passkey protocol requires a Bluetooth proximity check for security. Both devices need to be physically near each other.
Browser doesn't support passkeys. Update your browser to the latest version. Chrome, Safari, Edge, and Firefox all support passkeys in their current versions. Older browser versions may lack support.
The Short Answer
Setting up passkeys takes less than a minute per account. On iPhone, use Face ID or Touch ID when a site offers passkey creation. On Android, use your fingerprint or screen lock. On desktop, use Windows Hello or macOS Touch ID. Your passkeys sync automatically across devices in the same ecosystem, and third-party password managers can bridge the gap between platforms. Start with your most important accounts: email, banking, and shopping sites where you have payment information stored.
Sources
- Passkeys on Apple Devices - Apple Support
- Sign in with a Passkey Instead of a Password - Google Account Help
- Passkey Support on Windows - Microsoft Support
- FIDO Alliance Passkey Adoption Data - FIDO Alliance